“Your loaf – it’s under-proved,” says Paul Hollywood, eyeing the lacklustre show stopper piece you’ve presented him with.
Your hands are sweaty and shaking – this was your last chance to stay in the Bake Off competition baking tent, and because you didn’t know how to prove your dough effectively, you may have just blown it.
Of course, not all baking scenarios have stakes that are so high. Learning the basics of proving dough is as likely to aid you in your own kitchen as it is to propel you to baking stardom on television.
There are a number of complexities to proving a loaf, and sometimes looking into information about the practice can lead to more questions.
What’s the difference, for example, between proving and fermentation? How essential are multiple proves, and do you need a specialized environment in your kitchen in order to prove your bread dough effectively?
We’ll try to answer these questions and more in this guide to proving dough.
A quick note before we get started, though! You’ll see, in this guide, that the terms “proofing,” “proving,” “fermentation,” and “leavening” all get thrown around.
We’ll quickly go over the difference between these terms, but in a number of kitchens, they are used interchangeably.
Contents
Understanding the Science of Proofing Dough
Let’s start with one of the most basic questions: what is proving dough, exactly? Proving is the process of rising your dough, and it relies heavily on yeast.
We’ll go into a discussion of yeast in a moment. Proving, though, makes use of the growing power of yeast and fermentation in order to increase the gluten content of a loaf of bread and thereby enhance the flavor.
If you don’t introduce yeast into your bread, or if you fail to prove a loaf properly, you may find that not only is the flavor of your loaf reduced, but that you can create unintentionally dense or flat loaves that are harder to eat than more traditional bread.
Proofing as Fermentation – Are the Terms Interchangeable?
The interchangeability of the terms “proofing,” “proving,” “fermentation,” and “leavening” is up for debate.
Let’s take a quick look at the difference between the terms and why, in some kitchens, they can stand in for one another.
Proofing: The final rise of a shaped loaf of bread. This process takes place at the end of the life cycle of a chunk of dough.
Proving: An alternative spelling of “proofing.” The definitions of the words are identical, as both refer to the final rise of a loaf of dough.
Fermentation: The process of yeast interacting with the dough in question. Yeast consumes sugars within the dough you’ve made and leaves ethanol in its wake.
This is what makes your loaf of bread even tastier. Fermentation takes place over both the final proof and other moments wherein your bread dough is resting, as the alcohol that the yeast is producing allows the dough to double or triple in size.
Leavening: The process of fermenting dough and allowing that dough to rise.
Leavening, in this way, is a broader term than “fermentation” and can refer to a number of methods through which dough can be encouraged to rise.
This article will focus on yeast as a leavening agent, but the availability of other agents should be acknowledged.
While that array of definitions may have uncomplicated matters, you may still be reasonably confused. That’s fine!
The differences between these terms will suss themselves out the longer you practice proving in your kitchen.
Understanding Yeast
To move away from linguistic specifics, we can turn our attention to this article’s leavening agent of choice: yeast.
There are a number of different types of yeast available for you to make use of when you first start creating your bread dough, including the following:
Fresh: Fresh yeast is exceptionally moist, which means that it is likely to bring more wetness to your dough.
The yeast is not inactive when you first use it like it is when it is active-dry or instant, which means that you’re likely to get a better rise if you use it, but that the yeast will also expire more quickly.
Active-Dry: Active-dry yeast is likely the type of yeast you are more familiar with, as it is easy to find on any grocery store shelf.
You will need to activate the active-dry yeast, as the name suggests. Place the yeast in water in order to bring it back to life and to integrate it into your dough more effectively.
This sort of yeast has the longest life of the ones discussed in this article. Without water to interfere with its shelf life, it is likely to stay useful to you for an extended period of time.
Instant: Instant yeast is, of the three yeasts listed here, likely the easiest yeast to make use of.
You don’t have to activate this yeast; rather, add it dry to the dough of your choice, and you won’t have to wait all that long in order to get on with the baking process.
This sort of yeast has a middling life expectancy, but you can refrigerate it in order for its leavening properties to last longer.
The Process of Bread Rising
Keeping the nitty-gritty details of proofing bread in mind, you’ll be able to move forward with actually making a loaf of bread.
The process of baking a loaf of bread is listed below in reference to a loaf of white cob, a loaf whose recipe has been provided by the aforementioned Paul Hollywood.
Also read: How to make your own bread proofing box
White Cob Loaf
Ingredients
- 3 1/3 cups of white bread flour.
- 2 teaspoons of salt.
- 2 packets instant yeast.
- 3 tablespoons of unsalted butter, softened.
- 1 1/3 of cups cool water.
- Olive oil.
Process
Step One: The Basics
Combine the dry ingredients in a bowl until well mixed. Cut in the butter, and once the texture of the mix is sandy, add water.
Once barely combined, remove the dough from your bowl and knead until it is silky in texture.
Step Two: Bulk Fermentation
Bulk fermentation occurs when you ferment the whole of your dough at once. In the preparation process, you will divide your dough, but when you’re first starting out, you’ll want to prove all of the dough at once.
For this white cob loaf, you need to oil a clean bowl, place your dough inside of it, and cover it for at least an hour – and up to three hours.
The area you keep your dough should be warm but not hot, although bread proofing temperatures will vary, depending on the loaf you’re making.
Warm areas tend to make the yeast in your dough happy, meaning that it will produce alcohol faster. However, environments that are too hot can kill your yeast before it has a chance to work.
Most often, you’ll want to prove somewhat slowly. While the white cob loaf has a shorter proving time, some loaves benefit from the first bulk prove lasting up to twelve hours.
Step Three: Folding the Dough
Paul Hollywood himself refers to the folding of the dough after an initial prove as “knocking back” the dough.
This may seem like a counterproductive step, given that you just bulk rose your dough, but in fact, knocking back your dough, or folding it, ensures that it doesn’t over-expand or lose its flavor.
This process works in the same way that kneading does; you’ll work the dough until it has reduced, if only slightly.
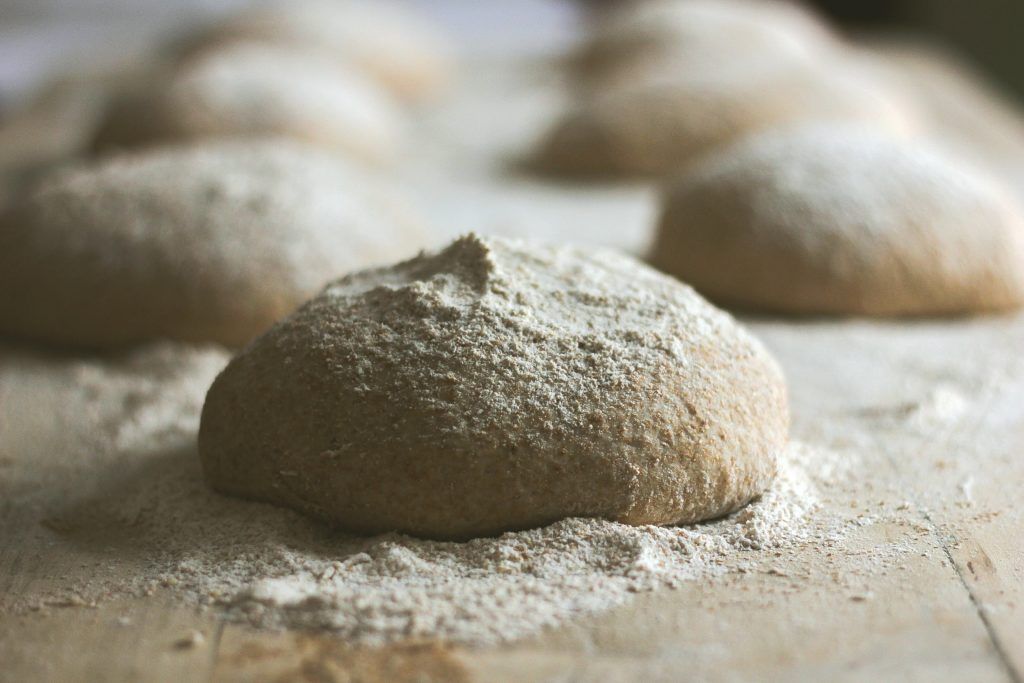
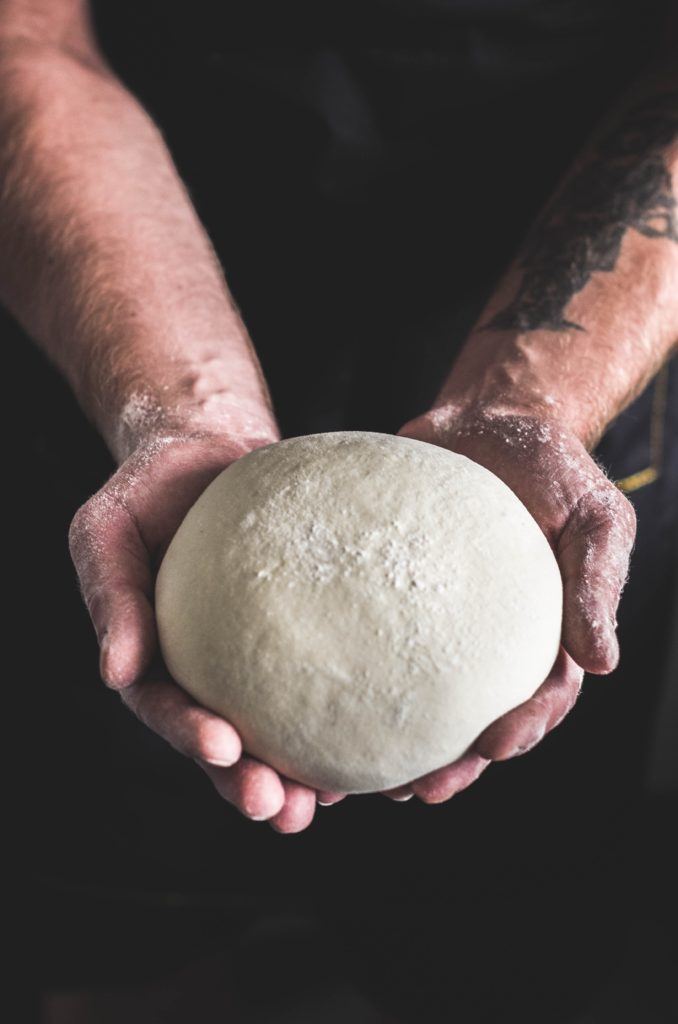
Step Four: Dividing and Shaping Your Dough
Once you’ve knocked your dough back, you’ll be ready to divide and shape it. For the white cob loaf, you can either keep the dough in one mass or divide it into two loaves with a bench scraper.
Make sure the loaves are of equal size. White cob loaves tend to be perfect circles, but you can also make them as long, stretched loaves.
Commit to a shape at this step, though, because after the final proof, it will be unwise to try and change the shape of your dough.
Step Five: The Final Prove
Having shaped your dough, you’ll want to cover it with a clean plastic bag and let it sit on your counter until it doubles in size.
The dough should maintain the shape of your choice throughout this process, and it should take another hour of resting in order for the process to be complete.
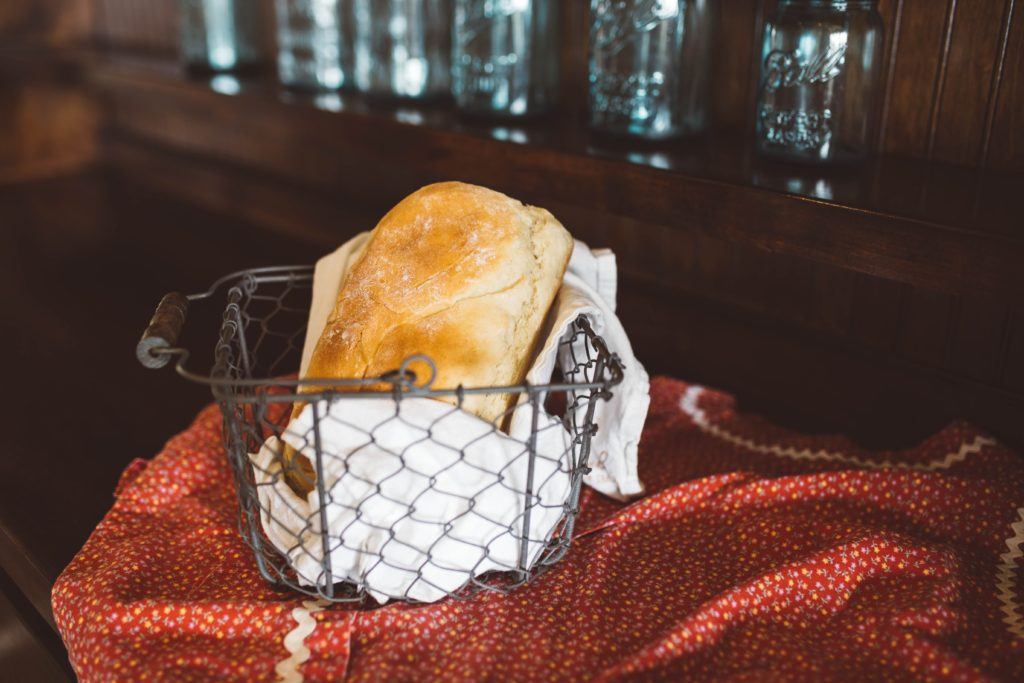
Step Six: Baking
Pre-heat your oven, during this time, to 425 degrees Fahrenheit, and prepare a pan to go on the bottom rack of your oven – under the rack you’d prefer to bake your loaf on.
Once your loaf has finished proving and has doubled in size, you can score the top of it with slashes and place it on a baking tray. Before you close up your oven, though, pour water into the empty tray that you’ve placed at the bottom of your oven.
The steam that this water produces will ensure that your loaf remains soft and chewy instead of becoming too hard to eat.
Bake the loaf for half an hour, then remove from your oven and allow it to cool before eating.
Here’s a video showing an example of how to make a cob loaf including bread proofing.
Conclusion
While this is a more specific proving process, the basics weaved throughout it are the same for many loaves of bread.
You’ll want to rise your bread multiple times and vary the temperature of the environment it proves in, depending on the bread you would prefer to make.
Keep the type of yeast you’re using in mind, and watch as the loaves grow before your eyes.
Do you have any tips for prooving bread?