If you want to turn your bread loaves into works of edible art, then it’s worth trying out different bread scoring patterns. The art of bread scoring is a surprisingly difficult and complex endeavor, but the results speak for themselves.
Let’s take a look at what scoring bread actually means, how to score your own bread, when to score bread, and multiple bread scoring pattern techniques down below. By the end, you’ll be ready to master this technique!
What Is Bread Scoring?
Scoring is when bakers slash their bread dough with a sharp blade (referred to as a bread lame in French) before baking it. This creates intentional weak spots in the bread that allow it to expand naturally along the directions of the cuts instead of bursting at the seams.
Typically, these cuts form an “ear,” which is basically a raised flap of crust created from that cut. It helps bakers hold onto the entire loaf when moving it to their displays. But, of course, scoring can be done for purely decorative reasons, too.
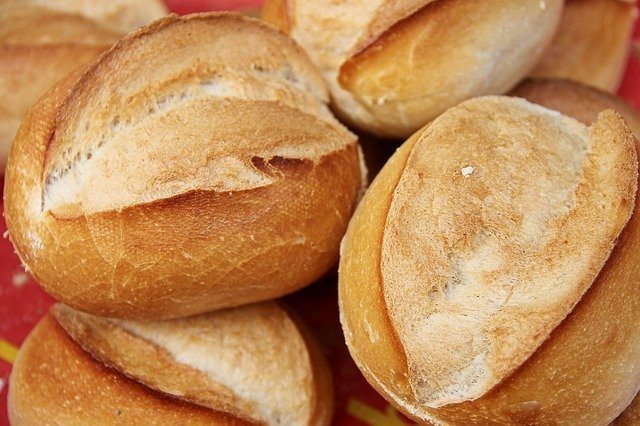
The process of scoring bread dates back to the 19th century when a French scientist named Vaudry deemed that cutting bread before baking it could improve its appearance. Since then, scored breads were only baked for wealthy families and in famous restaurants in Paris.
Certain bread scoring patterns soon became the distinctive trademark of specific bakers, and people used their scores to distinguish one baker from another.
Best Bread for Scoring
Not all types of breads are scored.
Loaves baked in pans, for example, should not be scored before baking, as it will ruin the shape and texture. Likewise, brioche-style breads, those that have fruit embedded into them, strong sourdoughs, enriched breads, breads thick with inclusions like Bara Brith, composite breads, or specially plaited and styled breads should also be left alone.
Nearly all hearth breads, on the other hand, can be scored. It is best to choose a standard loaf that takes on a simple shape. A cob or boule, bâtard, bloomer, or a stick might be the best types to start with.
Bread Scoring Patterns and Designs
The cuts you make to your dough can create an appealing pattern on your bread’s crust once it’s finished baking. An unscored loaf will have a certain rustic loveliness to it, of course, but most people will agree that scored bread looks a great deal prettier.
For example, some breads – like baguettes – have very traditional scoring patterns, while others are more open to your own interpretation.
A single or double huge slash along the dough can create an opening large enough to create an ear. However, smaller, more delicate slashes will give your breads a far more intricate design. Feel free to create your own unique patterns that mark the loaves as your very own.
| Design | What Is It? | How to Do It |
|---|---|---|
Several Small Cuts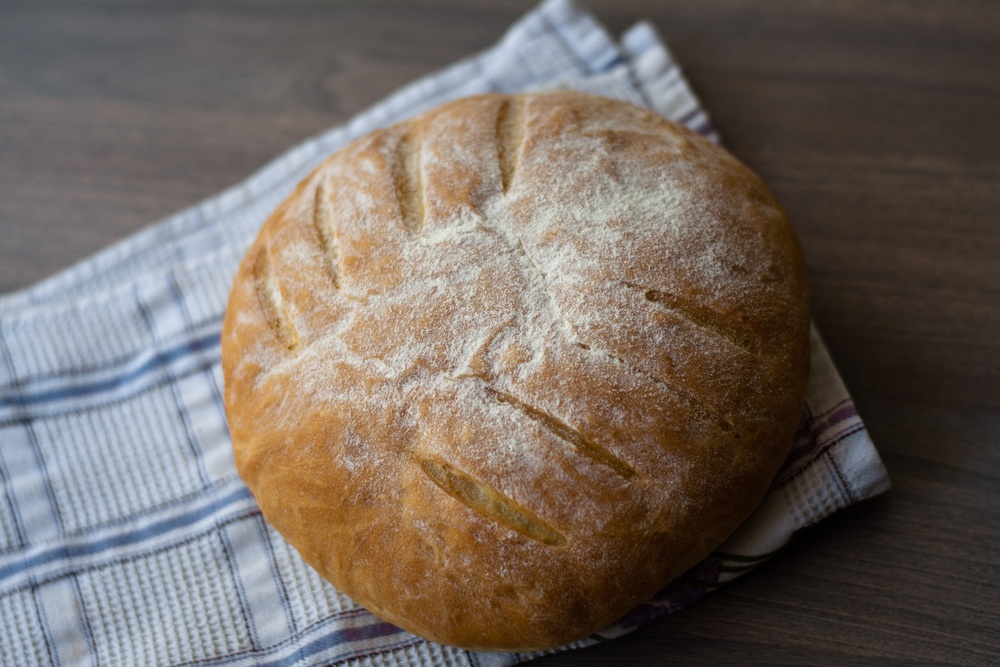 | This is best for boules. It is a series of small cuts that emulate the design of a leaf or wheat stalk | Start at the top and make diagonal slashes from top to bottom |
Cross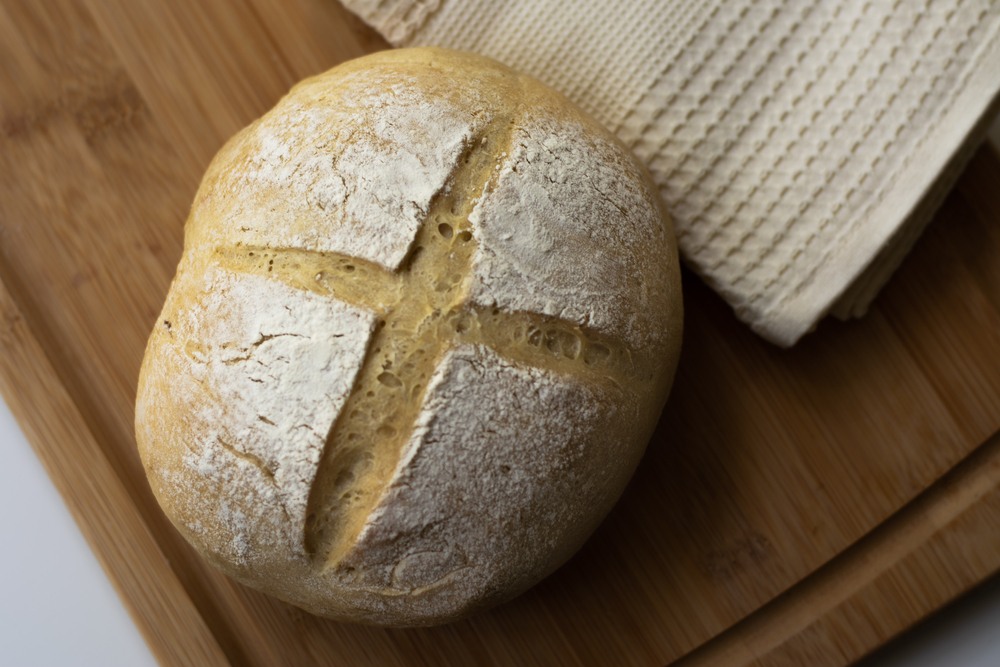 | Center cut design that is slightly deeper than other slashes for a more dramatic appearance | Use a straight blade that is angled at 90-degrees to the surface of the dough |
Box Top with Design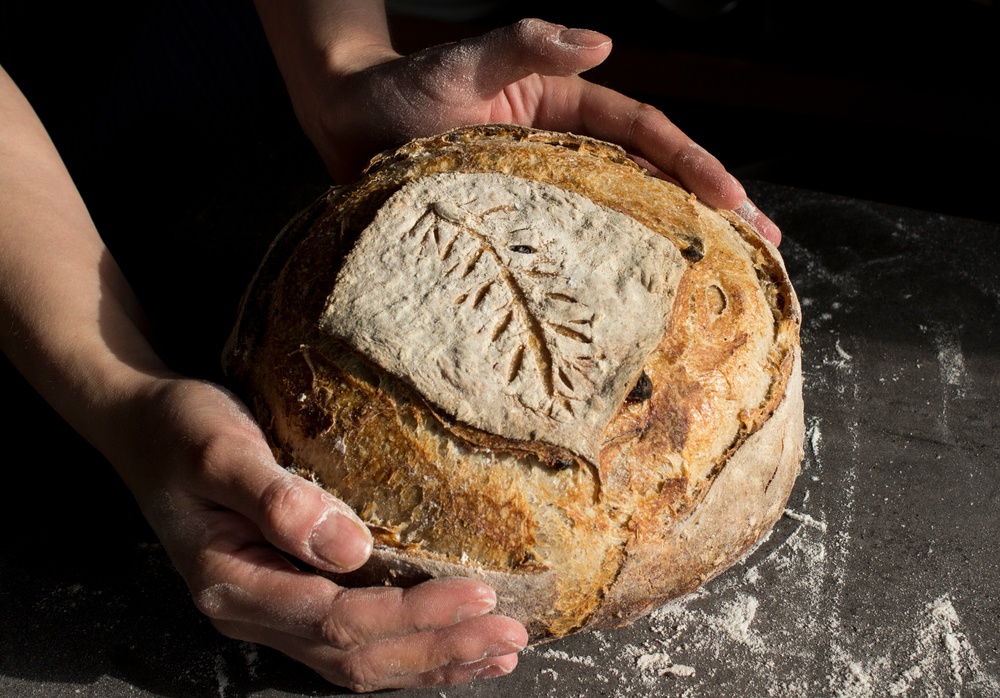 | This design is a perimeter box made with four straight-edge slashes and then has a design within the perimeter | Start with four slashes with a straight blade. You can also use a curved blade for more of a box top, lifted look |
Batard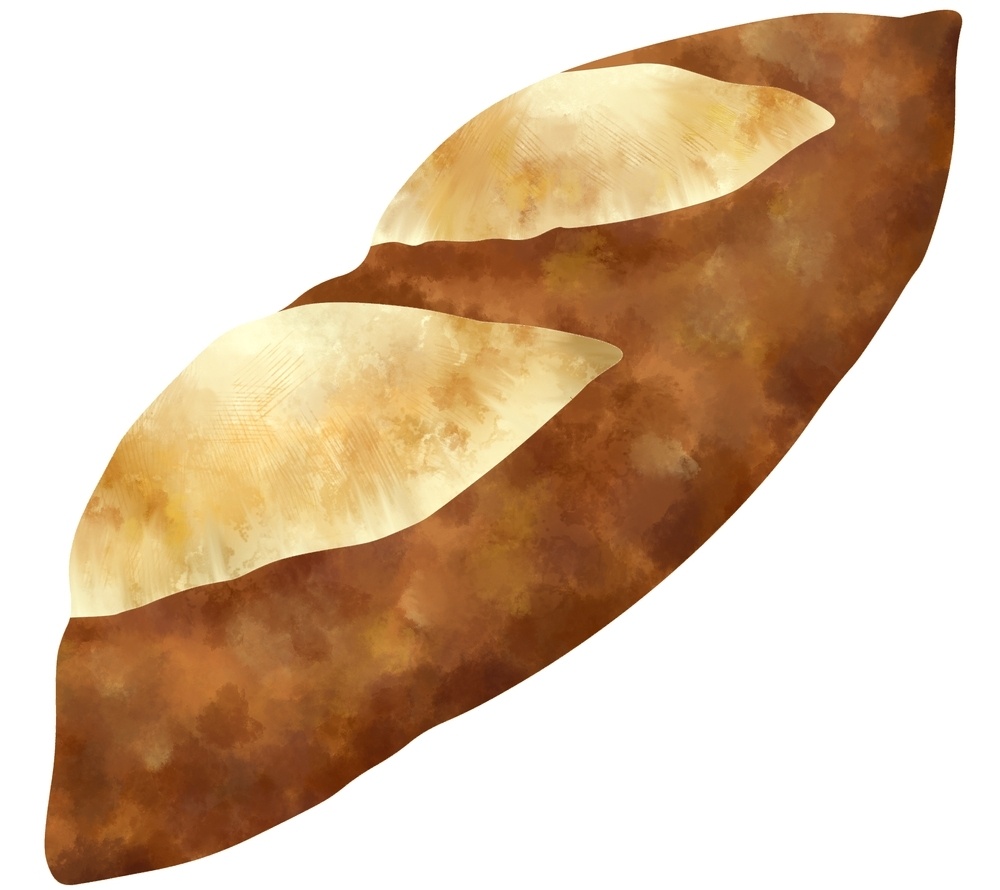 | This is a simple slash in the dough best for bread you know won't spring up as high as others when baked | Use a curved blade to create a lip at your two dough cuts. The start of the second cut you make should overlap the end of your first cut |
These are just a small sampling of the many different bread scoring patterns you can choose from when baking.
One Mile Bakery
You can find some intricate bread scoring designs at One Mile Bakery, a U.K.-based bread-making and bread-delivery service dedicated to teaching others how to bake their own delicious homemade, handmade breads and beer. In addition, they have a blog detailing how you, at home, can make all bread types on your very own.
Bon Appétit
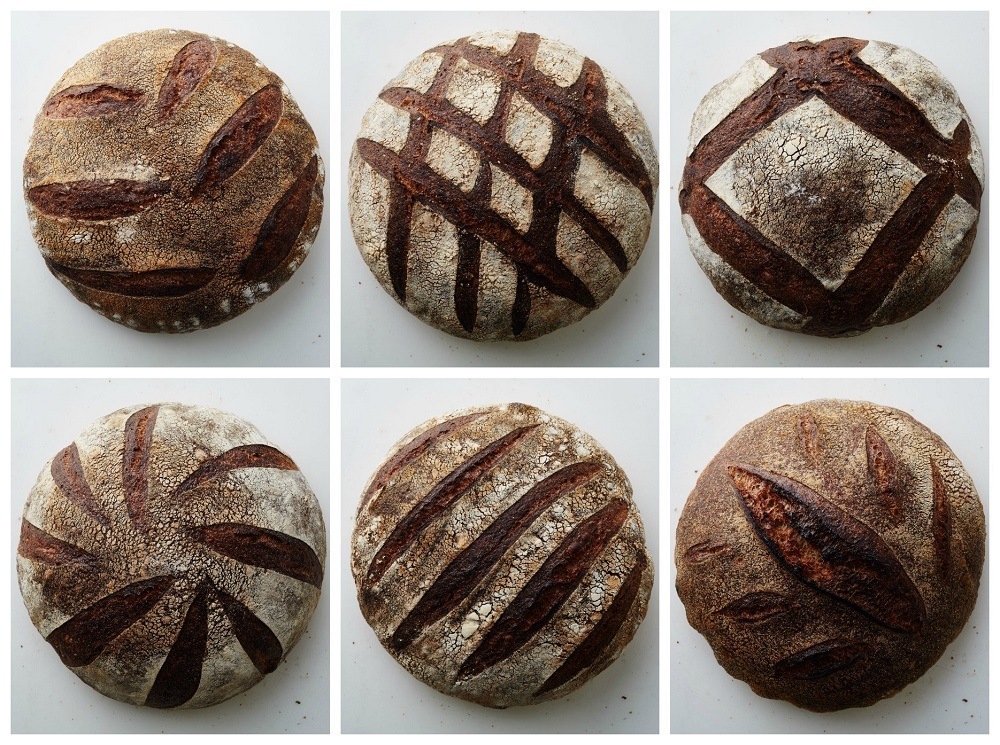
There are also more bread scoring pattern ideas at Bon Appétit, an extensive website full of many recipes, simple kitchen tips, and how-tos, video tutorials, restaurant reviews and guides, and even a podcast dedicated solely to food.
How to Score Bread
Now, let us get more into the specifics of how to score bread, including the supplies you need and details on each scoring method by bread type.
Preparing the Dough for Bread Scoring
Before scoring your bread, you want to first dust the top of each loaf with some flour. Doing so will help create more of a contrast between the white flour and the darker crust. Some prefer to use half white rice flour and half all purpose flour for the dusting. This is because white rice flour has a higher scorch temperature compared to all purpose flour. However, if you want the surface to be all white, you can use white rice flour instead of a combination of the two.
Chill Your Dough
Well-chilled dough is much easier to score than dough proofed at room temperature, as the surface becomes firmer and less fragile.
You can proof your loaf overnight or cover and stick it in either your fridge or freezer for at least half an hour before it’s ready to bake. You can also store it in your fridge while you wait for your oven to finish preheating.
Flour Your Loaf
Dust the top of your loaves with flour before you score them. This can create a nice contrast between the dark, baked crust and the whiteness of the bread.
First, turn your proofed dough out from its proofing basket and onto a piece of parchment paper or a preheated baking pan. The top of the dough may still have flour on it from the basket, so take time to brush that off until only an even layer of it remains.
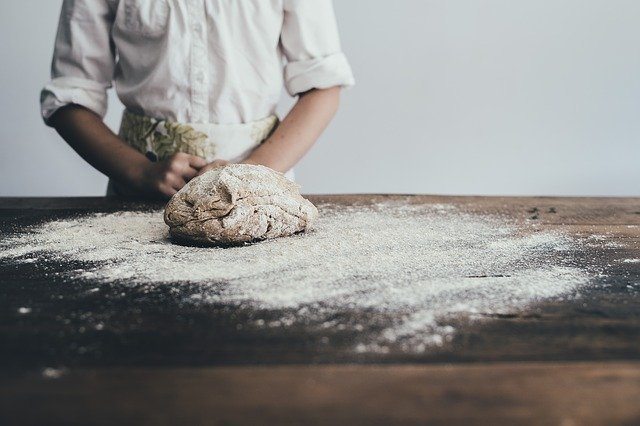
Next, hold a fine-mesh sieve above the dough and move it around to sprinkle an even coat of flour along the surface. This only needs to be a light dusting, so take care not to pour too much into the sieve beforehand – otherwise, you risk quickly caking your dough.
If you want your loaves to have a scattered coloring, be sure to use a mixture of about 50 percent white rice flour and 50 percent all purpose flour. However, if you want an all-white crust, coat your loaves with white rice flour only.
White rice flour has a higher scorch temperature than other kinds, which helps it retain its stark white color, even after baking in the oven for long periods.
After this, your dough is finally ready to score and bake.
The Depth of Bread Scoring Patterns
To find success when using different bread scoring patterns, you want to make sure the cuts you make are deep enough to penetrate the skin of the dough but not too deep that the cuts affect the structural integrity of the dough.
When you use single and double scoring slashed, you will require a bit more depth. However, the other bread scoring patterns should simply just break the surface of the dough so you can see inside.
What If the Crust Rips?
Ripping in the crust isn’t necessarily bad. You can even encourage ripping when you make a cut that is too small for the bread. Something you think was a mistake can make your bread look even more appealing as it springs up in the oven.
When Do You Score the Bread?
Many breads are scored before they even make it to the oven, but some aren’t. If you are baking with a more complex grain like rye or wholemeal, you are using simple sugars and less gluten. This means when you cut bread types like this, you will have a much weaker oven spring and not much retention.
Generally speaking, scoring is done after the bread has completed its final rise and before it goes into the oven. The bread splits allow the dough more room for its rise in the oven and add a more decorative touch to your bread.
What Supplies Do You Need for Bread Scoring?
Blades: Sharp vs Dull Blades
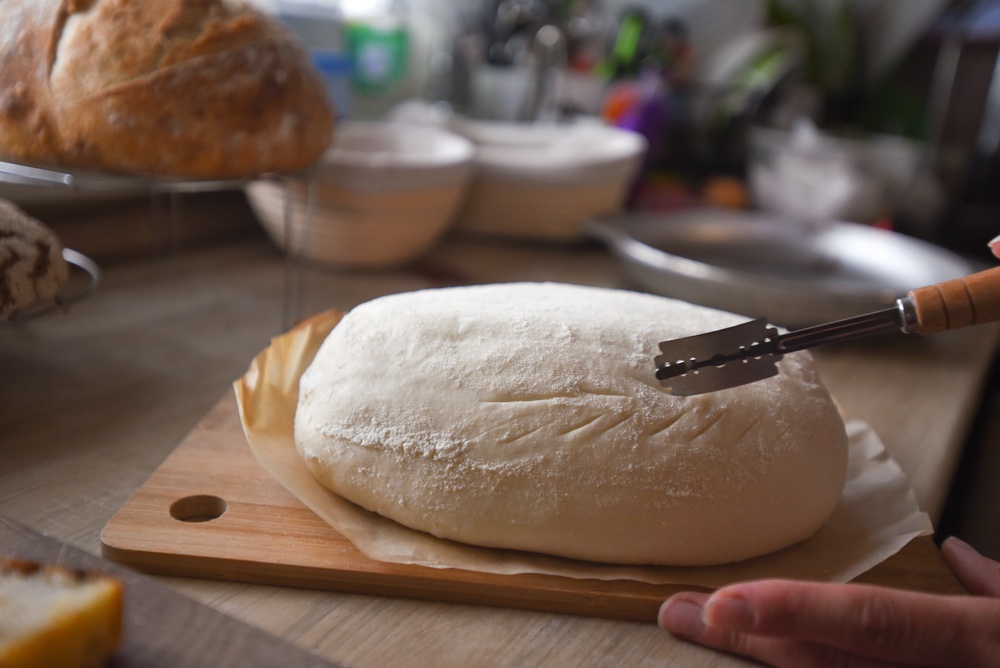
The blade (or lame in French) you use to score your bread is the most important tool at your disposal. The type of blade you use to score does not matter, so long as it is sharp.
A sharp, thin blade slices much easier through sticky bread dough, whereas a blunt blade will drag and tear at the skin of the loaf. This thin, dry “skin” forms while your loaf is proofing and can help to keep the shape of your loaf intact. It also makes scoring through it to the wetter dough underneath far easier.
A blunt blade will catch and drag along the skin as you try to score it, resulting in unwanted puckering. Maneuvering a blunt blade around corners and curves can also become more difficult since the blade’s constant catching may result in you having to re-cut the same cuts over and over again. The final look will be a jagged, messy scoring pattern.
Grignettes and Lames
The kind of blade you choose will all depend on the patterns you aim to make, as well as your own personal preference.
The most common blades that bakers use are lames, either attached to grignettes or used solo. Grignettes are basically blade holders, while the lame itself is the blade. Typically, the lame is slightly bent into the grignette, creating a curved surface – and providing a better angle when cutting.
A curved lame is useful for creating slashes with height or ones that force curvature on the bread cut. This curved blade opens the cut at an angle, where you can easily slice down through the dough and allow the “skin” of your loaf room to lift away. The result is maximum loaf expansion.
Most bakers find this curvature useful to create ears or pouch cuts and slice through long breads, like baguettes.
Depending on the site, you can buy a lame online for not much at all. They’re pretty cheap.
Razor Blades
Razor blades are the next best option after a grignette and lame. These thin blades closely mimic a lame and can easily be used to score bread in a pinch.
You can easily pop a traditional double-razor blade into a grignette, and it should score just fine. If you prefer to use a double-edged blade without first attaching it to the grignette, however, you need to be careful; you may accidentally cut yourself while trying to score with it.
The best way to pick this blade up is between only your thumb and forefinger on its short edges. Pay close attention to how you score the bread, as that flap of skin between your thumb and forefinger will be exposed to the sharp edge.
If you are concerned about this, you can easily use safety razors instead. These blades only have one sharp side, as opposed to two.
Straight Blades
Straight blades are great at making cuts perpendicular to the loaf’s surface. These cuts are generally saved for rounder-shaped loaves.
You can make reasonably straight cuts with a normal kitchen knife, but only if it has recently been sharpened.
Other Types of Blades
You can use a serrated blade (like a fillet knife), a craft knife, or a scalpel. Both craft knives and scalpel blades are very sharp, relatively cheap, easy to get ahold of and resist dulling after several uses. If you’re looking for a less fancy option, they get the job done well.
See more: our pick of the best bread knives
Scoring the Dough
Use Long Strokes
Bread scoring should always be done in confident, quick movements to prevent your knife from dragging along the dough. Also, the best scores are done with one large stroke instead of several small ones (unless you are trying to create an intricate pattern).
Be Gentle
You will want to be gentle, but not too gentle. Light cuts will not make much, if any, impact on the dough. However, that will result in ragged, messy cuts that you will have to connect or several re-cuts that could ruin your bread entirely.
It is okay to be a bit nervous when scoring. However, even if your bread did not turn out as nicely as anticipated, it’s still perfectly edible. Just let the knife do the work, and be sure that you do not press down on the dough when cutting it.
Prepare the Blade
It’s also helpful to wet the blade in water, cooking spray, or oil between slices, especially if you are working with particularly sticky dough. Out of all your options, spray oil works best when cutting stickier doughs.
Keep Your Cuts Precise
Do not become frustrated and start stabbing into the dough if you do not get the score you want. Each cut should be somewhere between 6 to 12 millimeters thick – no more and no less. Particularly aggressive or deep cuts can slice into the air pockets hidden within your dough, making that part of the loaf collapse entirely.
Be Mindful of Air Pockets
Sourdough and other slow-prove loaves are especially prone to collapsing due to having larger air pockets than other types of breads. Even a shallow cut in the wrong area can pop an air bubble and flatten your loaf. As such, it’s best to save scoring these types of loaves for when you’re better experienced in scoring.
Feel Free to Sketch Ideas
If you encounter trouble creating the patterns you want, it may help to draw that pattern on paper beforehand, then later transfer it to your dough.
Score According to the Bread Type
Different types of breads will require different scoring methods. For instance, round loaves need cuts that spread out evenly across the loaf and open quickly. Angle your blade perpendicular (or about 90 degrees) to your loaf’s surface, then cut.
On the other hand, longer loaves – like bâtard or baguettes – need to be scored parallel to the length of the loaf. These cuts should be shallower than those made on round breads. To make an ear, angle your blade at around a 30- to 45-degree angle to the dough and score about ¼-inch deep.
Hold the Blade Steadily
Try to keep your wrist as still as possible when moving the blade. It may also help to hold your lame closer to the blade-end so that you can have better control over your cuts. As you improve in scoring, you’ll eventually find a position that feels right for you.
Accept Variables
The amount of steam your oven generates and the development of your dough can affect how well your cuts turn out, so do not be discouraged if your scoring ends up looking off. As you try out future scores, adjust the temperatures or certain steps in your bread-making process until they begin looking more appropriate.
The Bottom Line on Bread Scoring
Bread scoring is an art that takes practice to get right. Once you master the technique behind it, however, you’ll be on your way to baking gorgeously patterned loaves of bread in no time!
