Bread making is perhaps the most magical of all kitchen crafts. Not only is it a calming process, but it has delicious, wholesome results! Of course, there’s science behind this ‘magic’ in baking.
Good bakers understand the chemical reactions that lie behind a perfect loaf, and knowing how to manipulate these for the tastiest outcomes can take your baking to the next level.
When trying to understand this science, you’ll come across an ingredient that can be a head-scratcher: malt.
There seems to be a little bit everywhere – in barley malt syrup, malt-added flour, diastatic malt – but is it important to bread making, or can you pass it by?
Personally, we think it’s pretty important!
In this guide, we’ll take a look at what you need to know about using malt in your baking – and in particular, the advantages of using diastatic malt powder.
What is Malt?

In order to understand malt, we’ll first have to discuss fermentation. Fermentation is the process by which enzymes break down a carbohydrate.
There are many different enzymes and many different types of carbohydrates, which each result in unique products.
In the case of bread making, brewer’s yeast breaks down a sugar called maltose into glucose. As by-products, this process creates carbon dioxide and ethanol. The former escapes the bread, causing it to rise, while the latter evaporates into the air.
Within food, fermentation isn’t just for bread making; it’s also used in creating a host of other products, most notably beer and yogurt.
In bread making, the cue of fermentation is the rising of dough; in beer, it’s the white, foamy layer, and in yogurt, it’s the sour, tangy flavor.
Making Malt
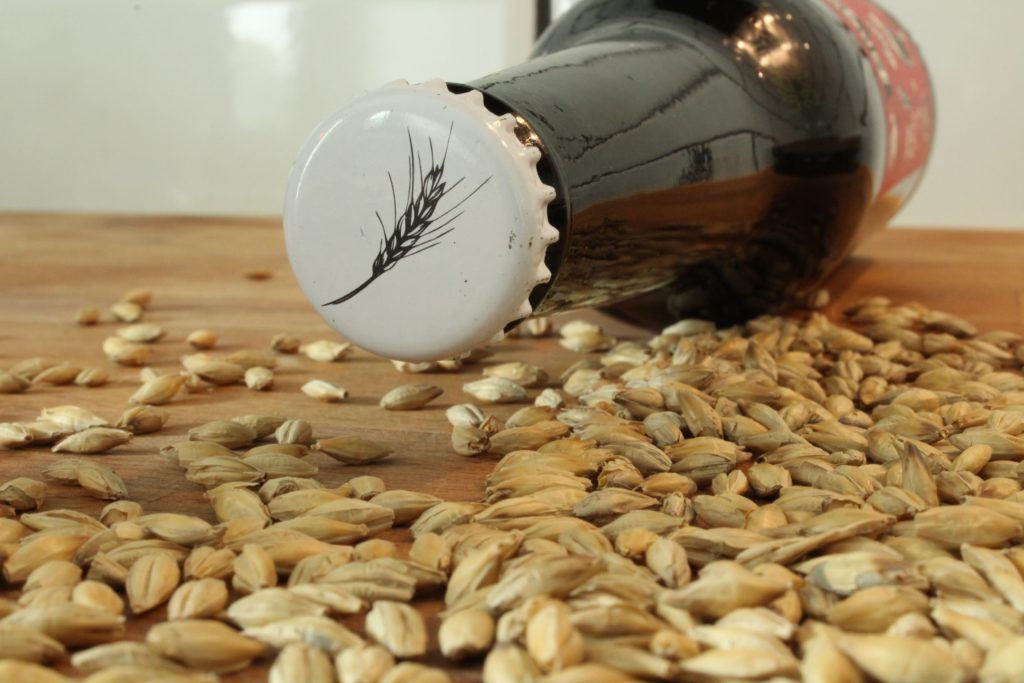
Fermentation doesn’t just happen in food either; it happens in nature as well, without any human intervention.
Think of the process by which seeds grow into plants. Seeds only sprout once the right conditions are achieved; the most important of these conditions is the presence of moisture.
Inside a seed, there is starch that is used as the seed’s initial food source; enzymes are also available to turn this starch into sugar, or energy.
When making malt, this process is recreated using artificial means. Grain is soaked and will be artificially germinated. Because of this, enzymes (specifically amylase) break down the starch in the seed, turning it into sugar and other by-products.
Since the maltster (the craftsman who does the malting process) doesn’t want the grain to be entirely sugar, this process is stopped abruptly by quickly drying off the grain.
Non-Diastatic vs Diastatic Malt Powder
Among brands of flour with added malt, you may notice that they come in two different types: diastatic and non-diastatic malt powder.
The difference between these two is in the end stage of the malting process. As stated before, by the end of the procedure, the grain is dried to stop the malting process. This can be done in two ways, either by drying or kilning.
Drying off the grain allows it to preserve some enzymatic activity in the grain. This produces diastatic malt.
On the other hand, kilning removes all of the enzymes due to its high heat levels. This produces non-diastatic malt.
What Does Malt Do?
The diastatic malt is what we need for bread making, because this variety changes the whole structure of our loaf.
Diastatic malt gives it an improved rise, texture, and a more ‘authentic-looking’ crust. Non-diastatic malt is still used in baking, but it’s usually added for the sake of aesthetic, providing color and aroma to the bread.
How to Make Homemade Malt Powder
For those who desire a more hands-on experience, you can always elect to make your own homemade malt powder.
All you need to do is follow how a maltster creates malt, but on a smaller scale. In fact, creating your own malt isn’t that labor intensive, although it does require time.
Even still, most of this process is simply waiting for the grain to do its job. As a matter of fact, there are only two things that you need to make your own malt powder: a jar and some whole grains.
The majority of recipes use whole wheat grains, although you can certainly experiment on any kinds you prefer.
Making homemade malt powder has three basic steps: sprouting, drying and grinding.
Sprouting
In order to sprout your own grains, just soak your grains of choice in a container, preferably one that is see-through. Your favorite mason jar will do the trick.
Be sure to leave enough room for the seeds to move around when the container is swished.
Soaking will take about six to ten hours. Then, drain the water and let the grains aerate. Do not touch the grains with your bare hands, so as to avoid contamination.
After this initial process, you will need to rinse the grains at least two times a day. Do this until the berries begin sprouting at about ¼ inch. Once you see these sprouts, you can move on to the next step.
Drying
To dry your grains, place them on a baking sheet with grease-proof baking paper and leave them in the open to dry.
Make sure that the temperature in the area doesn’t go above 104 degrees Fahrenheit, or 40 degrees Celsius. You will need to flip the grains every six hours; this method will take about a day or two.
To dry your grains faster, you can also do this with an oven, as long as you can ensure that it stays below the necessary temperatures.
This method will take around three or four hours. You will know that your grains are completely dry when they feel as solid as they were before soaking.
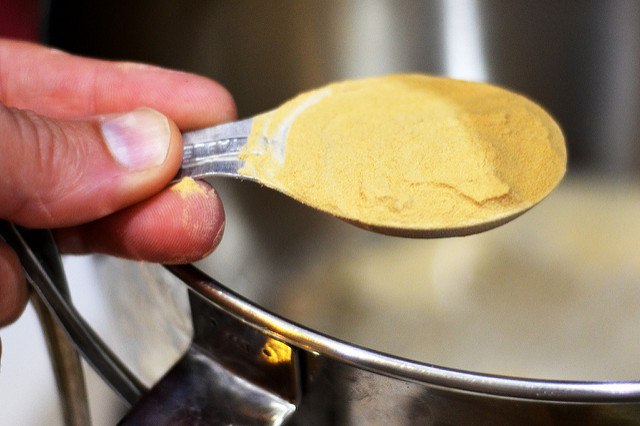
Grinding
The process of grinding is similar to that of milling your own flour.
You can use a home grinder or an appliance that can grind flour, such as a coffee grinder or blender.
Here’s a video showing an example of how to make homemade malt.
Where Can You Buy Diastatic Malt Powder?
Of course, you may not have the time to create your own malt powder, or simply don’t want to develop your own. So, where can you buy malt powder?
Because it is a more specialized baking ingredient that not many people use, it could be difficult to find in stores.
A more effective avenue is to visit specialty baking shops or to look online for a jar, which can typically found at a reasonable price.
If you are looking for a malt powder substitute, you can find liquefied versions in the form of malt syrup, although this may be less effective in your recipes.
Diastatic malt is difficult to find, especially in syrup form, but here’s a couple of useful diastatic malt supplies to add to your kitchen cupboard:
Firstly, a nice little 4 oz supply from King Arthur Flour – one of the current bestsellers on Amazon:

Alternatively, here’s a 1.5 lb dry malt powder mix from the popular Medley Hills Farm Store:

Either option is fine and will get the job done.
How to Use Diastatic Malt Powder
Diastatic malt powder can be added to your flour, especially when it does not already have malt incorporated.
If you have a container of flour that has been lying around your kitchen for a while now, and you’re not sure if it has malt or not, chances are it doesn’t.
Flour with malt tends to be more expensive, and most of the commercially available flours don’t include it.
In order to use diastatic malt:
- Add 2 teaspoons for each loaf of bread that your recipe can yield.
- When proofing, add another teaspoon.
- Finally, add another teaspoon while kneading the dough.
However, note that these figures should be used more as a baseline, rather than a strict rule.
Different flours will have different amounts of enzymes, depending on the production process and the grain itself. External factors, such as temperature, will also affect your dough.
As another guide, you may also try adding malt depending on the flour weight. Wild Yeast Blog recommends 0.1% to 0.5% of the flour weight.
For Bread Starters
Adding diastatic malt is also important when using bread starters since yeast feeds on the sugars that are available in the dough.
As such, the dough is left without enough sugar for your bread to have a rich, brown crust.
Incorporating diastatic malt results in your bread having enough sugar to achieve the desired color and aroma described.
When following a recipe that calls for a starter, such as a poolish starter, it’s always best to add diastatic malt to the dough itself.

How to Make a Poolish Baguette
Now that you know how to use diastatic malt, especially in your recipes, let’s take a look at a recipe for Poolish Baguettes.
This recipe was adapted from the San Francisco Baking Institute and appears on Wild Yeast Blog.
For the poolish starter, the ingredients you need are:
- 1 ¾ cups of flour.
- 1 ¾ cups of water.
- 1/8 teaspoon of instant yeast.
For the dough:
- 3 ½ cups of flour.
- 1 ¾ cups of water.
- 1 teaspoon of instant yeast.
- 3 teaspoon of salt.
- 1 teaspoon of diastatic malt powder.
- Prepared poolish.
Directions:
- Combine the poolish and allow it to ferment for 12 to 15 hours. You will know that your poolish is ready once you see bubbles on the surface of your dough.
- Save about ten percent of the water, and combine all your dough ingredients in a stand mixer with a dough hook. Leave the mixer on a low speed while slowly adding the water you have set aside. Keep adding water until you have reached a medium dough consistency.
- Keep mixing until you have a low-medium level of gluten development in your dough. To check your level of gluten development, do a windowpane test. (Stretch a small amount of dough against a source of light; a low-medium level will have a few opaque spots in the dough when you stretch it.)
- Once you have achieved this consistency, let your dough ferment. Transfer to a lightly oiled container, cover, and leave at room temperature for about an hour.
- Lightly flour your counter and divide the flour into three or four pieces. Shape each piece into a cylinder, and then let it rest for about 20 minutes.
- After letting it rest, shape the dough into baguettes.
- Proof for about an hour. You will know that your dough has proofed enough if it springs back slowly after you have poked it with a fingertip.
- While proofing, preheat the oven with baking stone at about 475 degrees Fahrenheit. Prepare steam.
- Score the baguettes. To score, create slanted diagonal lines in the middle of the surface, making sure that the lines do not run off the sides of the dough. It helps to imagine the dough in three parts lengthwise, keeping the scoring inside the middle part.
- Put the loaves in the oven and reduce the temperature to 450 degrees. Bake for seven minutes with steam, then bake a further ten minutes without steam. Turn off the oven, leaving it to cool inside with the door ajar for five minutes to achieve a good crust.
- Let cool on a wire rack and serve.
Here’s a video showing an example of a Poolish baguette recipe.
Final Thoughts on Baking with Malt
While you could always bake without using malt, using diastatic malt can greatly improve the quality of your bread.
Indeed, many people think of diastatic malt as the ‘secret ingredient’ that bakers use in order to create the perfect loaves, as it develops a nice golden crust and a wonderful aroma.
Knowing how (and when) to use this secret ingredient can truly bring your baking to the next level.
While it can be a bit of a headache, understanding the chemical processes behind bread baking, and specifically, the process behind making malt can help us make better, more delicious bread.
With just a bit of science on our sides, we can get the most out of recipes and be guided in making our own.
Hopefully, this guide has been a helpful resource for your efforts in baking with malt. Now use this new-found knowledge to make better breads—and be sure to savor the magic of baking.
If anyone asks how you achieved such great quality bread, be sure to spread the word about malt around—you’ll never know who you’ll inspire next, and what tasty creations you’ll get to sample as a result!
What’s your favorite way to use malt?
Do you have a recipe for malt bread (or loaf)
Thank you so much