Who doesn’t love pizza?!
But how about making it yourself? Hmm…
Making homemade pizza doesn’t have to be a chore, however. Making bread maker pizza dough is the key to easy and deliciuos pizza that’ll taste like it came straight out of Italy.
With this recipe, we’ll also show you how to make gluten-free pizza dough in a bread maker — a way that has proven to be simple, fun, and time saving — in just five easy steps.
Bread Maker Pizza Dough Recipe
If you have ever made bread in a breadmaker before, you might want to forget those recipes while making this pizza, as making bread dough in a breadmaker is not the same as making pizza dough in a bread maker.
It’s time to experiment…
For example, instead of using white sugar, you can use brown sugar to better help the pizza have a nice golden-brown around the edges when baking. There’s no need to add eggs, butter, or milk in the mix either.
Tools and Ingredients for Pizza Dough
Here’s what you’ll need to make a medium-sized pizza:
1) A standard bread machine
2) 3 cups of all purpose flour
3) A pinch of salt
4) 1 cup of warm water
5) 2 tablespoons of brown sugar
6) 1 ½ tablespoons of olive oil
7) 1 tablespoon of yeast (instant or bread machine yeast is fine)
Methos
Step 1: Before you begin
Before you begin putting in the ingredients into the pan, make sure you read your bread machine’s manual, as different bread makers require you to add the ingredients in a specific order.
Most bread makers will advise you to add the ingredients in this order, liquids first and then dry:
- Water
- Oil
- Salt
- Sugar
- Flour
- Yeast
Step 2: Properly setting up the ingredients
Take the pan out from the machine. Once you put all the ingredients in the pan, make sure the yeast doesn’t touch the salt or the water, as it will lose the properties needed to get the job done.
Make a small crater on the flour and place the yeast inside to prevent this.
Step 3: Starting the machine
Place the pan back into the machine and make sure it is properly snapped into place.
Plug in the machine and have the settings on the white dough cycle (or pizza dough cycle if your bread machine is sophisticated enough!) and press the start button.
Do not open the bread machine while it is going through the cycle, as it can interfere with the process and cause a stiff dough that will be difficult to shape later on.
Also, make sure you position the bread machine far from any ledges. Some bread makers vibrate right off the counter, so you’ll want to move yours back as much as you can.
Step 4: Fermentation
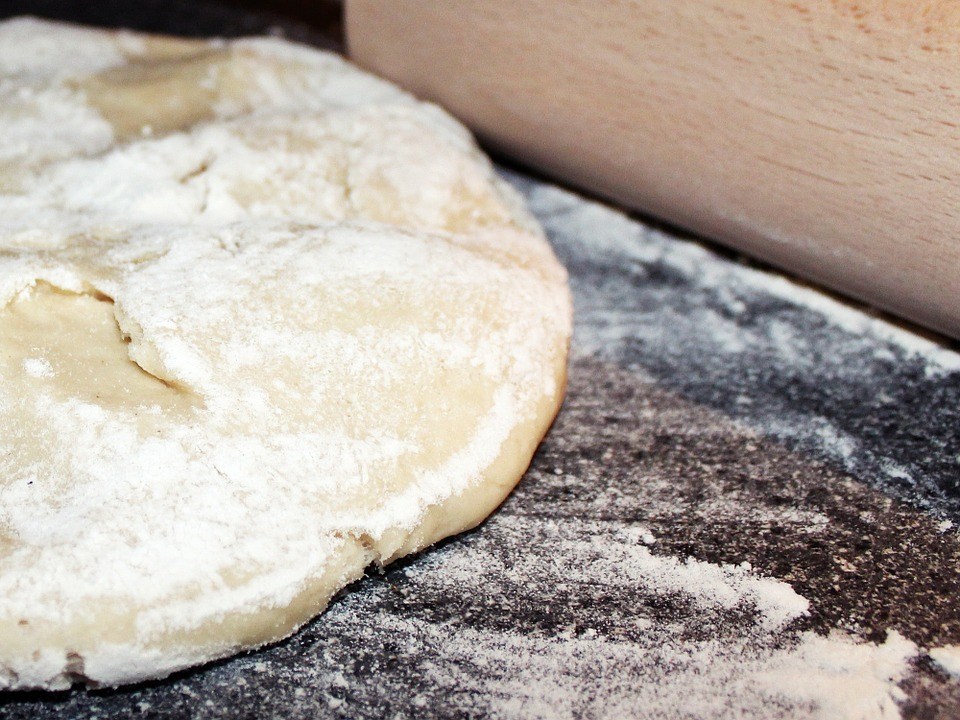
Once the cycle is over, the dough should look like a soft, white lump of playdough. After carefully taking the dough out of the pan, you can either use it right away or freeze it to be used another day.
If you decide to freeze it, just wrap it up in plastic wrapping or aluminum foil and put it in the freezer. To reheat it, take it out of the freezer and let it defrost outside on the counter or stove a few hours before you cook it, just like you would with frozen meat.
We do recommend you leave the dough in the freezer for as little as twelve hours to about four days, as this leads to fermentation and a richer flavor (you can’t leave all the hard work to the sauce and toppings!).
Also, when yeast is put in a colder environment for a few days, it enhances the elasticity of the dough, which helps when it comes to stretching the pizza.
Step 5: Shaping
If you decide to use it right away, then figure out where you will shape the dough. This can be on a pizza pan or on your kitchen counter.
For frozen bread maker pizza dough, remember to thoroughly thaw it out before continuing with the next steps.
However, it’s recommended you use a pizza pan, so you can shape the dough precisely and make sure it has that perfect pizza shape. Otherwise, make it whichever shape you want!
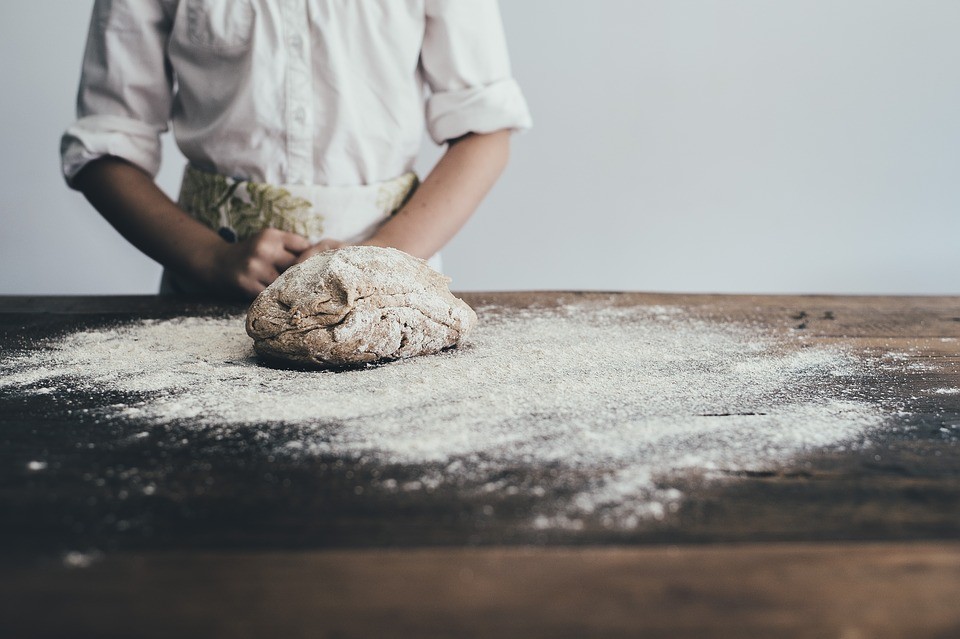
Spread the area you will shape the dough on with a bit of flour. Even it out with your hands to make sure there won’t be clumps of flour on the bottom of the pizza.
Place the dough ball on your work area and lightly sprinkle it with flour as well. Use your fingertips to gently press down and around the dough in a clockwise motion.
Flip the dough frequently and apply the same motions to both sides until you stretch the pizza into the size you want.
Step 6: Toppings
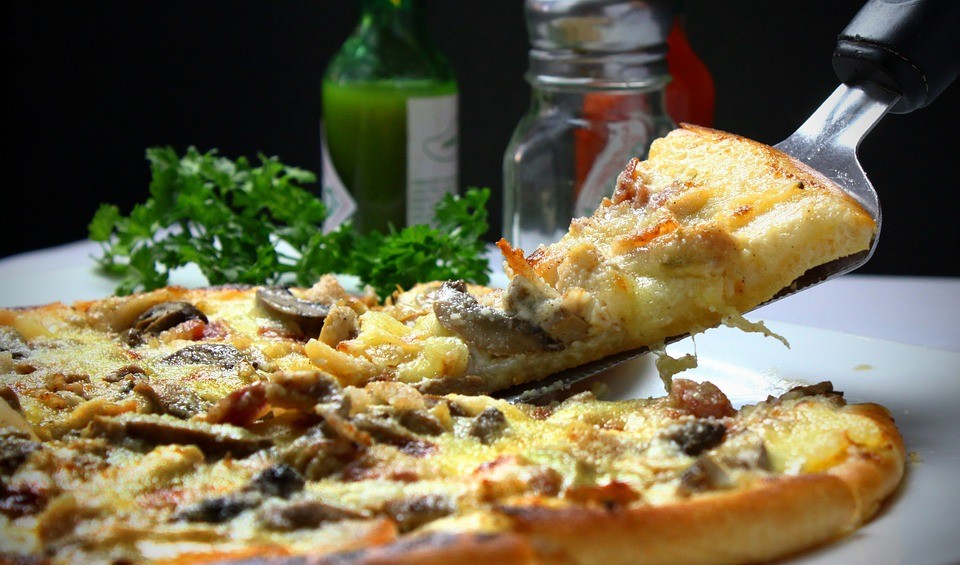
After you prepare the dough, you can begin spreading the sauce and cheese, and adding on the other toppings on your bread maker pizza dough as you see fit.
Pizza is baked at a higher temperature and a shorter time than normal bread, so keep that in mind when you put it in the oven.
Once it’s done, you can enjoy your own homemade pizza!
Here’s a great video from Allrecipes showing the visual side of the recipe:
Gluten Free Pizza Dough in Bread Maker
So, how about making gluten-free pizza dough in your bread maker?
Basically, all you need to do is to swap out your 3 cups of all-purpose flour for 3 cups of a gluten free flour blend.
What you put in this blend is up to you and your taste buds — perhaps rice flour, tapioca flour, almond flour… whatever. Whatever flour you choose, make sure to check what the equivalent is to 3 cups of all-purpose flour. You will probably need to add xanthum gum to achieve some elasticity in the dough.
You’ll also need a little more warm water than you normally would. We recommend upping it to 1.5 cups in total.
And the method is exactly the same as for gluten-filled pizza dough!
Have you tried making pizza dough in your bread maker yet?