Homemade garlic bread – the perfect partner for pasta and pizza, but also lovely to enjoy on its own.
A bit pesky to make, however, so we like to get a little help when we can: bread machine garlic bread.
With a bread machine, you get homemade, delicious garlic bread that is that much easier to make but still miles tastier than store bought.
You’ll be able to enjoy your garlic bread hot out of the oven without worrying about freezer burn or that greasy, store-bought taste. You’ll even be able to control the details of your bake – and if you’re like us, that means adding lots and lots of extra garlic.
We’ll show you our favorite garlic bread machine recipe.
It’s not difficult at all; the recipe can even be altered so you can make bread machine garlic knots!
Just follow our five easy instructions and be on your way to hot, garlic-y goodness in no time.
Contents
Garlic Bread Machine Recipe
Make sure, of course, to read the instructions on your bread machine before you get started; you don’t want to make a loaf that’s too big or that won’t bake all the way through.
You’re also invited, of course, to experiment with your bread! Want to try a different sort of flour? Give it a go!
Tools and Ingredients
1) 1 cup warm water
2) 1 tablespoon butter
3) 1 tablespoon dry milk powder
4) 1 tablespoon white sugar
5) 1 ½ teaspoon salt
6) 1 ½ teaspoons dried parsley
7) 3 teaspoons garlic powder
8) 3 cups bread flour
9) 2 teaspoons active dry yeast
10) A standard bread making machine
Optional toppings include:
1) 1 tablespoon butter, melted
2) 2 garlic cloves, minced
3) A handful of freshly grated cheddar cheese
Bread Machine Garlic Bread: Method
Step 1: Prep work
This may seem straightforward, but make sure that you don’t put all of your ingredients in the pan at once!
Read your bread machine’s manual in order to figure out which ingredients need to go in when. Different bread machines have different requirements, and you don’t want to end up with wonky dough.
Most bread machines require that liquids be put into the pan first, followed by the dry ingredients.
Conveniently for this recipe, the only wet ingredient is the water. Take your pan out of the machine before getting started, then add the ingredients together with care.

Step 2: Starting the machine
Put your pan back into the machine. Make sure everything is where it’s supposed to be, and that your pan won’t come loose during the dough cycle.
Peek at your settings and place them on the white dough cycle (or another cycle, if your bread machine manual states otherwise), then press the start button.
Make sure everything is where you want it to be before you start the machine! You don’t want to open the bread machine up once the cycle’s gotten started; the dough could stiffen, and your eventual loaf won’t shape as easily.
Step 3: Fermentation
When the dough cycle ends, the dough should be soft and malleable.
Remove it from the pan with care, then either get ready to shape it or send it off to the freezer for another day.
If you’re freezing your dough, wrap it up in plastic wrap or foil and set it into the freezer. Reheating is as simple as letting it defrost on your counter later on, preferably three to four hours before you want to cook it.
Leaving the dough in the freezer can often lead to a richer taste, so if you have the time (not to mention the patience), feel free to let your dough rest for twelve hours or so after this point.
Step 4: Shaping
If you’re a little less patient, then you’ll want to prepare yourself for shaping your dough. You can either set the dough up as a regular loaf, or you can curl it into fancy garlic knots.
Place the dough onto a well-floured surface. If you’re leaving your dough in loaf form, shape it until you’re pleased with the way it looks. You may want to flatten the loaf towards the center, but that choice is up to you.
If you’re making bread machine garlic knots, then flatten out the dough and slice it into even strips, long-ways. Then, tie each strip into a shoelace knot – simple and straightforward.
Prepare a lined baking sheet or pan for your loaf.
If you’re looking for a round-topped loaf, place your dough into the pan. If you have knots, evenly space them across your lined baking sheet.
Let your dough and/or knots rise for 30 minutes or so before placing them in an oven preheated to 400 degrees Fahrenheit.

Step 5: Toppings
After you’ve prepared your knots and/or loaf, feel free to dab them with melted butter and sprinkle them with additional garlic, herbs, or cheese.
Go ahead and play with this garlic bread machine recipe!
If adding cheese to your garlic bread, however, place a sheet of aluminum foil over the top of your pan.
Cook your garlic bread for 10 to 12 minutes or until golden brown, removing the tin foil in the last five minutes of the bake.
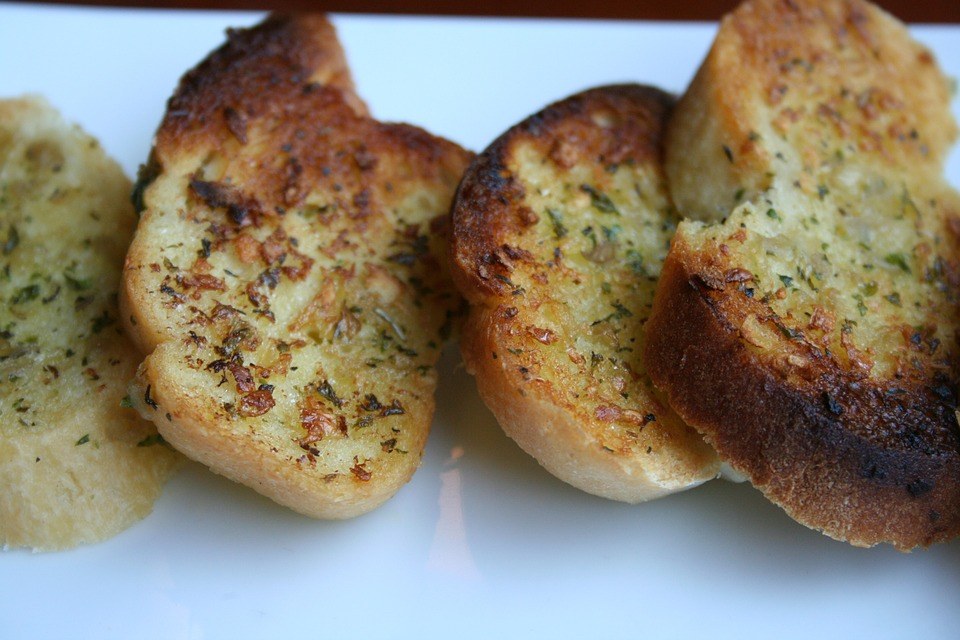
When you’ve finished, you’ll be gifted with the sight of perfectly baked, delicious garlic bread better than just about anything you can buy in the store.
Mmm… delicious!
Have you tried bread machine garlic bread? Or garlic knots in a bread machine?