Making anything from scratch is intimidating… we know; we’ve been there. That’s why this recipe is easy to follow, so you can have some fresh pita bread without feeling sick in the head.
Pita bread is a great alternative to toast and allows for deep pockets to be filled with yummy ingredients like falafal, hummus or deli meats. Imagine the possibilities if you didn’t need to run to the store every time you wanted to make your own shawarma.
Time-saving starts now.
Contents

How to Make Pita Bread by Hand
Equipment
- Mixing bowl.
- Mixer (or utensil to mix by hand).
- Bread maker (if you’re using one to prepare the dough).
- Rolling pin.
- Cookie sheet (if baking).
- Parchment paper/Grease for the cookie sheet (if baking).
- Cooling racks.
- Flipper/Spatula.
- Plate to serve.
Ingredients
- 1 cup of warm water (not boiling, but not cold)
- 1 ½ tablespoons of olive oil
- 2-3 cups of all-purpose flour (or bread machine flour)
- 1 ½ teaspoons of salt
- 2 teaspoons of active dry yeast (or 1 teaspoon of bread machine yeast)
- 1 teaspoon of sugar (if making with a bread machine)
This pita bread recipe serves 8-10 people, depending on pita size and use.
Directions
- Preheat the oven to 450 degrees Fahrenheit (or 232 degrees Celsius). If you’d prefer to make pita bread on a stovetop, keep reading until step 5 then proceed to step 8.
- Combine warm water and yeast, then let it sit until the yeast disintegrates. Using hot water will kill the yeast, preventing your pita dough from rising, and using cold water won’t activate your yeast. Add 2-2 ¼ cups of all purpose flour, salt, and ½-1 tablespoon of olive oil then mix until dough is formed.
How to Make Pita Bread with a Bread Machine:
Add warm water, bread maker yeast, bread maker flour, sugar, and salt to your bread maker, then select “dough cycle”. Some bread makers have a “pita” option; if yours does, feel free to select it and follow your machine’s instructions. Once finished, let the dough stand rest for about 10-15 minutes.

- Knead the dough, shape it into a ball, and cover the inside of a bowl in olive oil. Coat the exterior of the dough in a thin layer of olive oil by moving it around the bowl, then cover the bowl with a towel or tin foil, and let it rest for two hours so the dough can rise and double in size. At this stage, the dough can be stored in cling/saran wrap for up to a week in the refrigerator for later use.
- Place the dough onto a floured surface (usually a counter top or a cutting board) and carefully work the dough until it deflates. With a knife, divide it into it into eight or ten equal, circular parts.
- Flatten the dough with a floured rolling pin until all pitas are equally sized (a good frame of reference would be around eight inches wide). If your dough is especially sticky, add additional flour to your mixture. If your dough bounces back to its original form, leave it alone for a few moments, then resume rolling.
- Using a greased or parchment paper covered cookie sheet, bake the pitas at 450 degrees Fahrenheit (or 232 degrees Celsius) in a preheated oven for 3-5 minutes, depending on the oven (some ovens are hotter than others). If the oven is not preheated, pitas may fail to puff due to the cooler temperature. Flip the pitas halfway through to ensure they bake evenly on both sides.
- Set the pitas onto a cooling rack for five minutes or until warm. The ideal time to eat pitas is after they cool from the oven or skillet – although they can also be served cold, depending on your preferences.
- Add oil to a skillet and spread the oil around until the inside of the skillet is covered. On medium-high heat, place a pita onto the skillet and cook for around two minutes or until the pita bubbles. If the skillet is not hot enough, finished pitas are not as likely to puff due to the cooler temperature.
- Flip and cook the pita for another two minutes or until the bottom develops spots of brown.
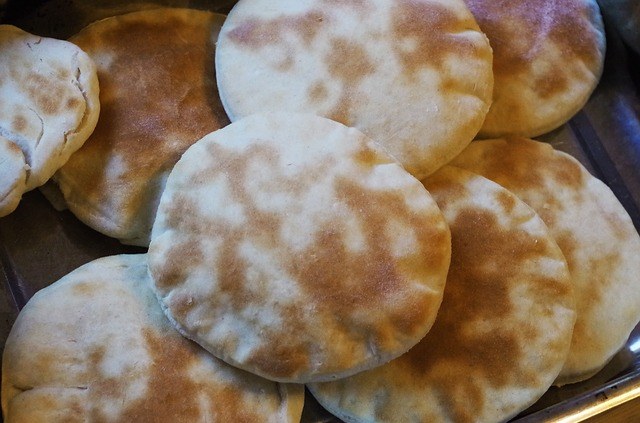
- Flip the pita back onto the original side until it develops brown spots and remove from heat. Repeat this process until there is no more dough. Pita bread can be stacked once removed from the stovetop to conserve space.
- Once cooked, pitas can be stored in an airtight bag for about a week after baking/cooking in a skillet.
Ways to Eat and Enhance Pita Bread
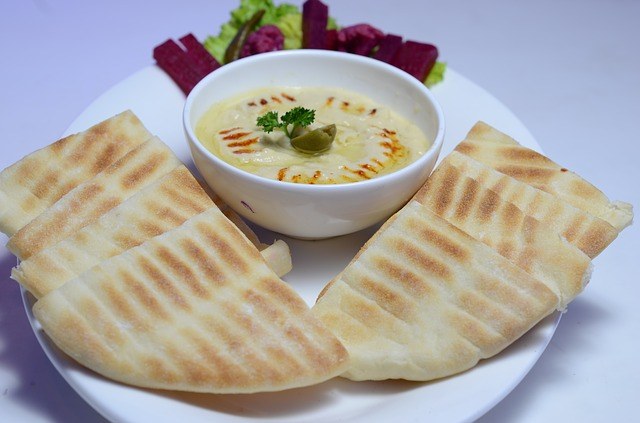
Pitas are usually served warm and can be eaten plain, stuffed, or used for dipping purposes. One of the most common dips to pair with this bread is hummus, although many others serve it with other dips and spreads as well.

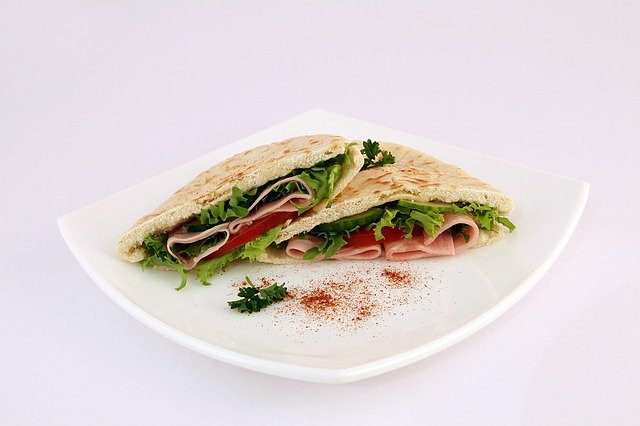
There are also many different ingredients used for stuffing pitas: usually people tend to stuff pitas with ingredients used for lunches or suppers (lettuce, meats, etc.), although others also use them for breakfasts (eggs, tomatoes, etc.) and desserts (strawberries, honey, etc).
Pitas are so versatile they can also be used as appetizers, snacks, and main dishes, depending on what they are served with (if anything).
