If you love to cook, you may have heard of panko bread crumbs. Panko bread crumbs are a type of bread crumb that comes from Japan, and, in many cases, it’s considered much better than the varieties we’re used to.
While you can’t substitute it into every recipe that calls for bread crumbs, you can for most culinary creations. And you should! They’re healthier, crunchier, and lighter than the usual types, and they can be a great deal of fun to cook with.
Where do you start?
Let’s dive into all the fun details of this unique ingredient, so you can enjoy it with your next meal.
What Are Panko Bread Crumbs?
Panko is a type of bread crumb originating from Japan. They’re slightly larger than the usual type and much lighter. Examined closely, panko has a shard-like shape, compared to the sand-like crumb you may be used to.
In Japan, panko is used in a variety of dishes, especially deep-fried ones. For example, the highly popular tonkatsu Japanese dish is made by coating a pork cutlet with panko, which is then deep-fried. Ebi shrimp, a dish similar to tonkatsu (but with shrimp), is also coated with panko. Both dishes would look – and taste – very different from their normally-breaded counterparts.
Panko vs. Bread Crumbs
Technically speaking, panko is a type of bread crumb. However, panko and the typical Western bread crumb are different, even if they share a similar appearance.
- Panko’s shape is more of a spiky shard than a fine, sandy crumb. This means that it has a greater surface area, resulting in a crispier taste than usual bread crumbs.
- Panko is lighter and airier, since it fails to absorb as much oil during the frying process.
- Panko can taste blander than the usual bread crumb, although it’s great at absorbing the flavors of the food it’s cooked with.
- Panko tends to be much healthier than bread crumbs, since it’s not made with white bread – a food often laden with additives.
- Lastly, panko will have a coarser texture than bread crumbs. Panko’s ‘shards’ are noticeably larger than the ‘crumbs’, and attentive chefs will easily notice the difference – especially after it’s been cooked.
You can easily substitute panko in most recipes calling for bread crumbs, although people may notice the difference. Picky eaters may not enjoy the new texture, even if they prefer the taste and health benefits.
History and Origin
The origin of panko can be traced as far back as 1543, when bread was introduced to Japan by the Portuguese. We can find this history in the Portuguese word ‘pao,’ which eventually became ‘pan.’ The word ‘pan’ was combined with the Japanese word ‘ko,’ which means ‘made from.’
The Japanese twist on bread crumbs soon became a staple in their cuisine. It was only in the turn of the 21st century that panko slowly became popular in the Western world. Its ability to stay crisper for longer periods of time makes it a hit for caterers, although it may be harder to find than traditional bread crumbs.
How Are They Made?
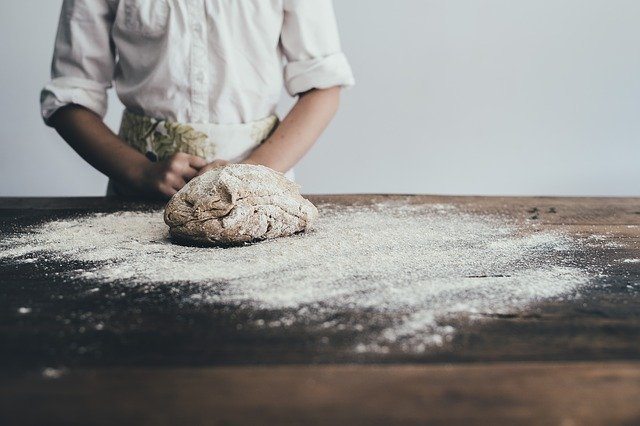
Commercial panko begins as a dough for a type of white bread, much like the bread crumbs you are accustomed to. However, unlike bread crumbs, panko dough is baked using an electrical current, which goes through the dough. This creates a crust-less loaf.
Industrial-sized graters are then used to create the shard-shaped crumbs of panko bread crumbs. While it’s not the same method enjoyed by Japan in the 16th century, it is far more cost-effective using the modern way.
Panko Bread Crumbs Recipe
You don’t have to deal with electric currents and industrial graters to get your own panko bread crumbs. No need for fancy gadgets; you can learn how to make panko bread crumbs in the comfort of your own kitchen. All you need is some white bread, a food processor, or a grater.
Of course, these homemade bread crumbs will be less of a shard, much smaller, and will be made of white bread, unlike normal panko. However, it’s still a tasty addition to your meals!
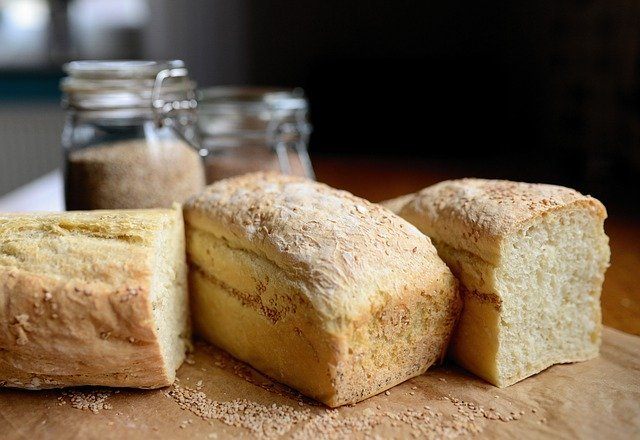
For those who would like the real deal, or to compare their homemade versions to the original, panko can be bought at most Asian markets.
Using a Food Processor
The easiest way to make your own panko is through a food processor. Alternatively, you can use a blender that has a pulse feature.
To make panko using a food processor:
- Begin by preheating your oven to 300 degrees Fahrenheit.
- Use any regular white bread. To make around a baking pan’s worth of panko, you will need about half a loaf. Cut the crusts off your bread and set them aside.
- Cut your crust-less bread in small squares and put them in your food processor.
- Using your grater disc, grind the bread in the food processor in one or two bursts.
- Place the shredded crumbs on a rimmed baking sheet. Bake for ten minutes. Make sure to check every two minutes, stirring the crumbs. The crumbs should only be slightly browned, dry, and crispy to the touch.
- Let them cool entirely, and store in an air-tight container on your countertop.
Using a Grater
Not everybody has a food processor or a blender, but, chances are, you have a grater in your kitchen. This method will produce slightly finer panko than the first method.
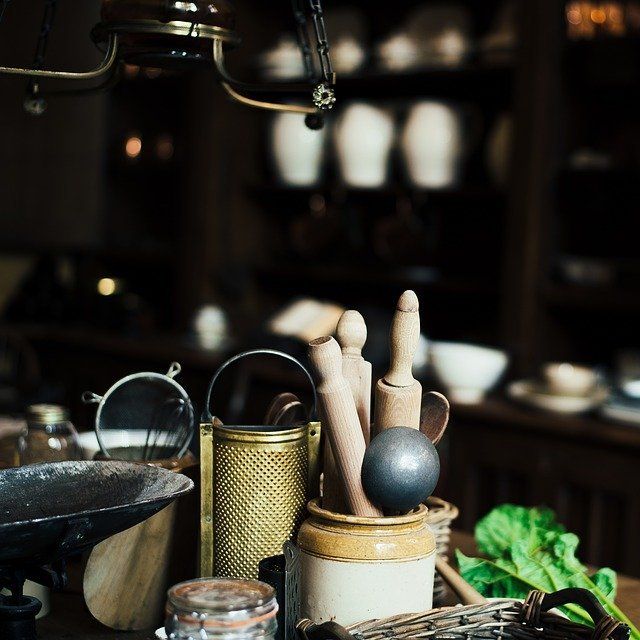
However, compared to the usual bread crumbs, this method will still create shards instead of crumbs.
To make panko using a grater:
- Take regular white bread and place multiple slices on a baking sheet.
- Bake at 300 degrees Fahrenheit for six minutes.
- Flip the bread over, and then bake for six additional minutes. After baking, the bread should be dry throughout, especially in the center. If not, pop them back in the oven until they are completely dry.
- After baking, cut off the crusts. Slice the bread into thin strips.
- Take the strips and grate each using the smallest hole on your grater.
- Store the crumbs in an air-tight container.
Gluten-Free Panko Bread Crumbs
Traditional panko bread crumbs ingredients are often vegan, but it can be hard to find a gluten-free substitute. For those with restricted diets, this recipe has come to the rescue.
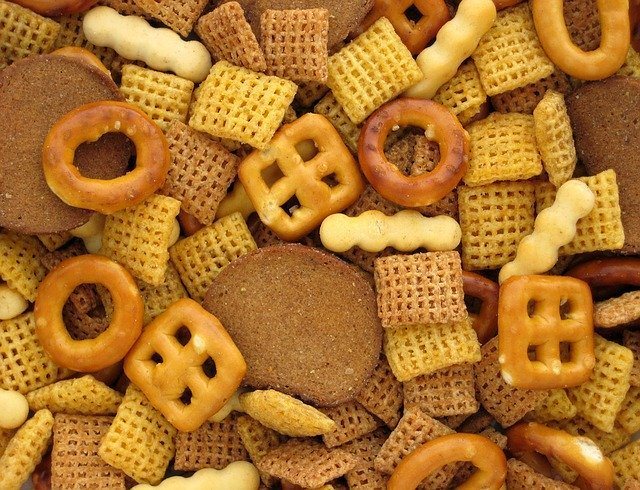
To make gluten-free panko:
- Take three cups of any gluten-free Rice Chex. (This will make about one cup of crumbs.)
- Put the Rice Chex in your food processor or blender, and pulse for 4 to 5 times until the Rice Chex is the right size.
- Store in an airtight container.
Much like the white bread, you can also create gluten-free panko without a food processor or blender. To do that, follow these steps:
- Place about half a cup of Rice Chex inside a zip-lock bag.
- Crush the Rice Chex using a rolling pin, checking to see if the crumbs are the right size.
- Store your gluten-free panko in an air-tight container.
How to Cook With Panko Bread Crumbs
Whether your panko is home-made or store-bought, there are myriad tasty recipes that you can enjoy with panko. Here are some of the best!
Crispy Parmesan Crusted Chicken
For a hearty dinner, this cheesy, crispy chicken is the perfect choice.
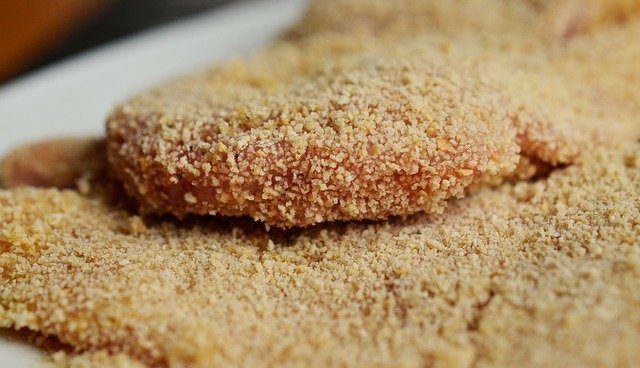
The tender, juicy chicken is coated with a crispy layer of panko, giving it the texture of fried chicken. But it’s not fried — it’s baked! With panko, you can enjoy that wonderful crunch without all the unhealthiness of deep-frying.
Ingredients
- 6 chicken breast halves.
- 3 eggs, beaten.
- 1 ½ cups of flour.
- 2 cups of panko bread crumbs.
- 1 cup of cornflake crumbs.
- ½ cup of parmesan cheese.
- 1 ½ teaspoon of garlic powder.
- 2 tablespoon of parsley flakes.
- ½ teaspoon of salt.
- ½ teaspoon of pepper.
Procedure
- Preheat your oven to 375 degrees Fahrenheit.
- Pound chicken breasts until they are ½ inch thick.
- Beat the eggs and set aside.
- In a shallow dish, combine the flour, salt, and pepper.
- In a different dish, combine the bread crumbs, cornflake crumbs, parmesan, parsley, and garlic powder.
- Dredge the chicken. Do this by first dipping it in flour until all moisture has been absorbed. Next, dip it in egg, then into the crumb mix. Slightly press on the chicken on both sides to make the crumbs stick to its surface.
- Prepare a baking pan by spraying it with cooking spray.
- Spray the top of the chicken with cooking spray as well.
- Bake the chicken for 30 to 35 minutes, or until its juices run clear.
Panko Mozzarella Sticks
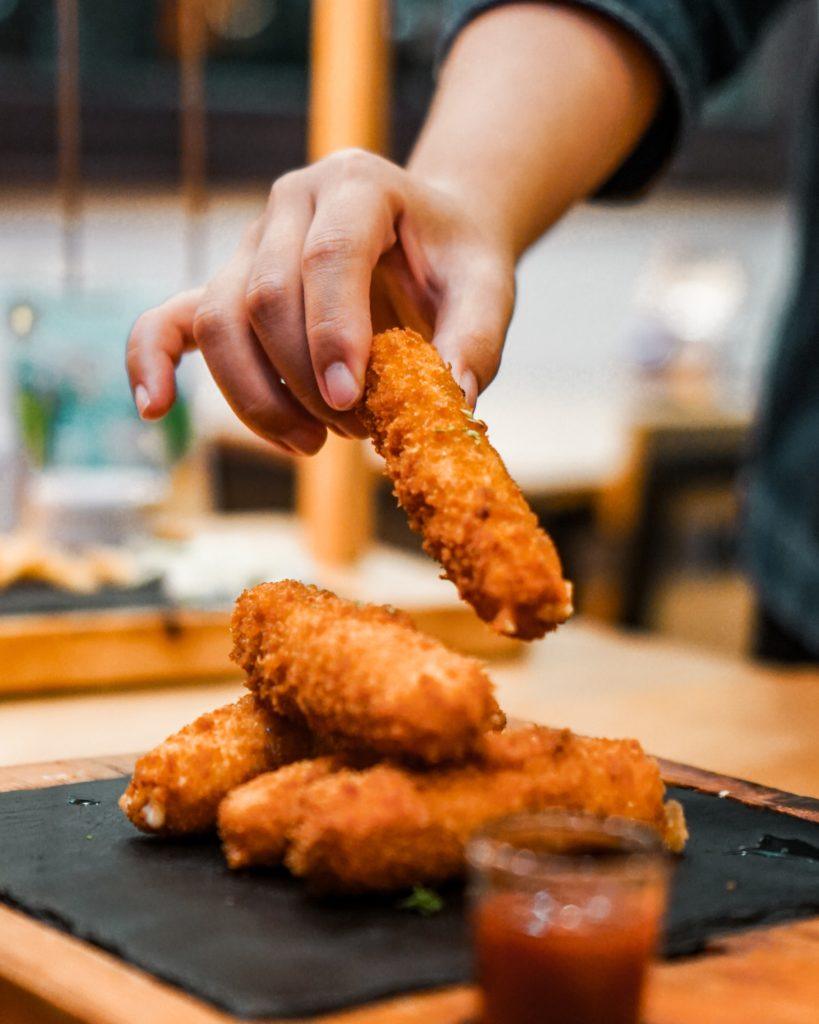
Panko is great for creating quick and easy snacks. On top of that, they’re very tasty! This mozzarella stick recipe is crunchy, cheesy, and only requires a few minutes of time.
Ingredients
- 8 mozzarella string cheese sticks, cut in half.
- 2 eggs.
- 2 tablespoons of milk.
- 2 ½ cups of panko bread crumbs.
- 1 tablespoon of dried parsley.
- 1 teaspoon of dried basil.
- 1 teaspoon of dried oregano.
- ½ teaspoon of garlic powder.
- ¼ cup of all-purpose flour.
- Canola oil.
Procedure
- In a shallow bowl, whisk the eggs. Add in the milk and mix thoroughly.
- In a different, shallow bowl, mix the panko with basil, parsley, oregano, and garlic.
- Dredge each mozzarella stick. Begin with the flour mixture, making sure to let the flour absorb all moisture. Then, dip the mozzarella in the egg mixture, followed by the bread crumbs. (To ensure the mozzarella doesn’t break apart, sprinkle the bread crumbs on top with your hands, so it doesn’t get rubbed too thoroughly.)
- Place the mozzarella sticks in the freezer, uncovered for about half an hour. This will ensure they hold their shape better when frying, instead of melting apart when in contact with the heat.
- After freezing the mozzarella, heat the oil in a deep fryer to medium heat – or about 375 degrees Fahrenheit.
- Cook the sticks until golden brown, about one minute. Drain with paper towels.
- Serve with marinara or your favorite sauce.
Crunchy French Toast
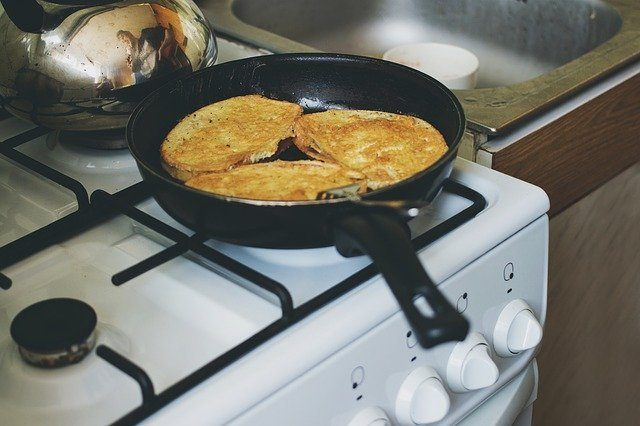
For those who would like a sweet panko recipe, this crunchy French toast is right up your alley. Panko with French toast makes the perfect breakfast, especially for those who love some crunch with their morning coffee. Serve this like any normal French toast—but be ready for extra crispiness.
Ingredients
- 3 eggs.
- ¼ cup of half-and-half.
- 1 teaspoon of vanilla extract.
- ½ teaspoon of ground cinnamon.
- 1/3 cup of sugar.
- 4 slices of whole wheat bread.
- 1 cup of panko bread crumbs.
- 1 stick of salted butter, melted.
- Softened butter and maple syrup, for serving.
Procedure
- In a shallow dish, bowl, or pie pan, whisk the eggs. Mix the half and half, half of the sugar, and half of the cinnamon. Set this mixture aside.
- In a different shallow dish, stir the panko with the rest of the sugar and cinnamon. Then, stir in 2 tablespoons of butter using a fork. All the crumbs should be slightly moist, but not soggy. Set this mixture aside.
- Heat a non-stick skillet over medium-low heat. Put in the rest of the butter. (This may look like too much butter, but it’s necessary to make the panko nice and crisp. Don’t worry; the panko won’t absorb a great deal of the oil, and this will mainly prevent burning.)
- Dredge the bread. Begin with the egg mixture, coating each surface lightly. Let the excess drip off, then transfer it to the panko mixture. Press each side gently to let the crumbs stick.
- Place each piece in the skillet. Cook for about five to six minutes on one side, and three minutes on the other.
- Serve with butter and your favorite syrup.
Conclusion
Panko is a great alternative for bread crumbs, as it’s lighter, crunchier, and healthier. The next time a recipe calls for bread crumbs, why not try substituting panko instead?
